Homemade Peanut Butter Cups Classic
Highlighted under: Desserts Made Easy
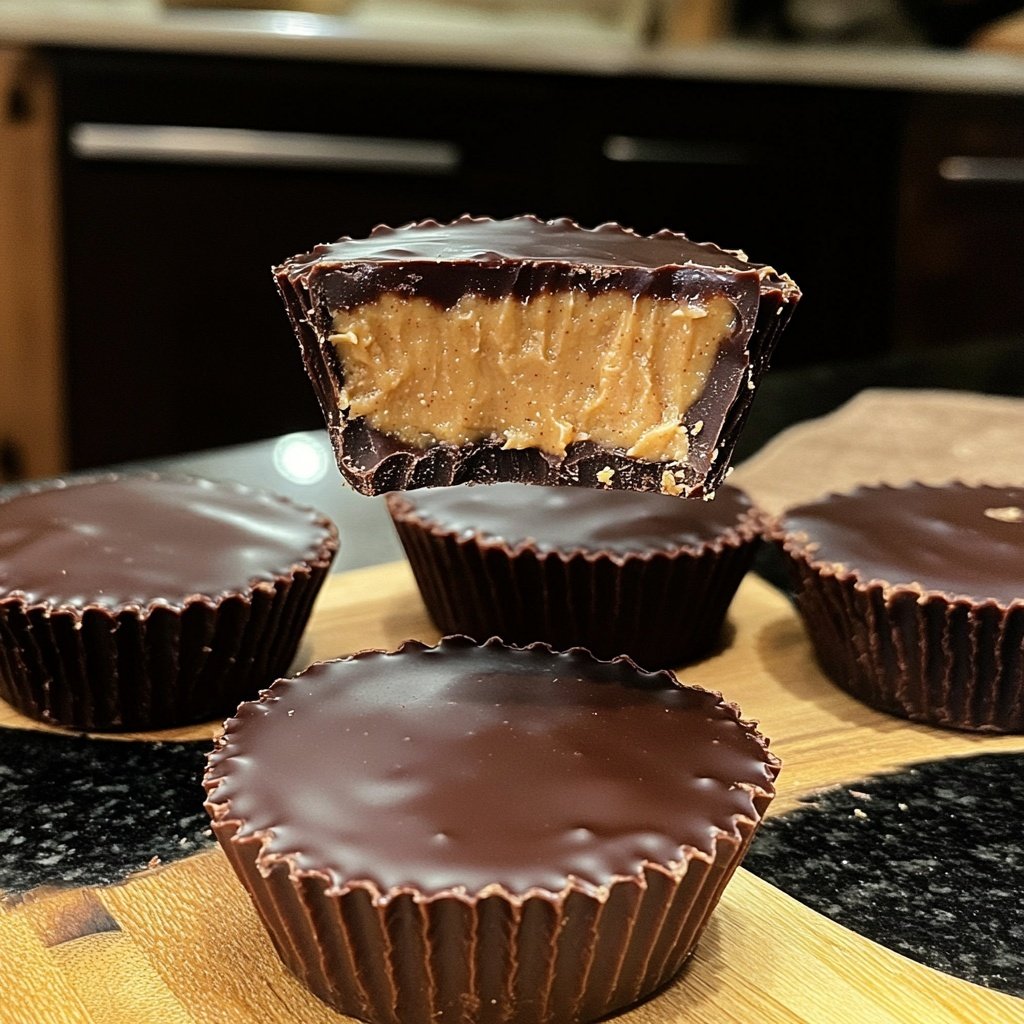
I absolutely love making my own peanut butter cups at home! There's something incredibly satisfying about whipping up this classic treat from scratch, allowing me to control the sweetness and choose high-quality ingredients. The combination of creamy peanut butter and rich chocolate never fails to delight. Plus, it's a fun recipe that I can easily customize to suit different tastes. Whether I'm sharing them with friends or indulging myself, these homemade peanut butter cups always bring a smile to my face.
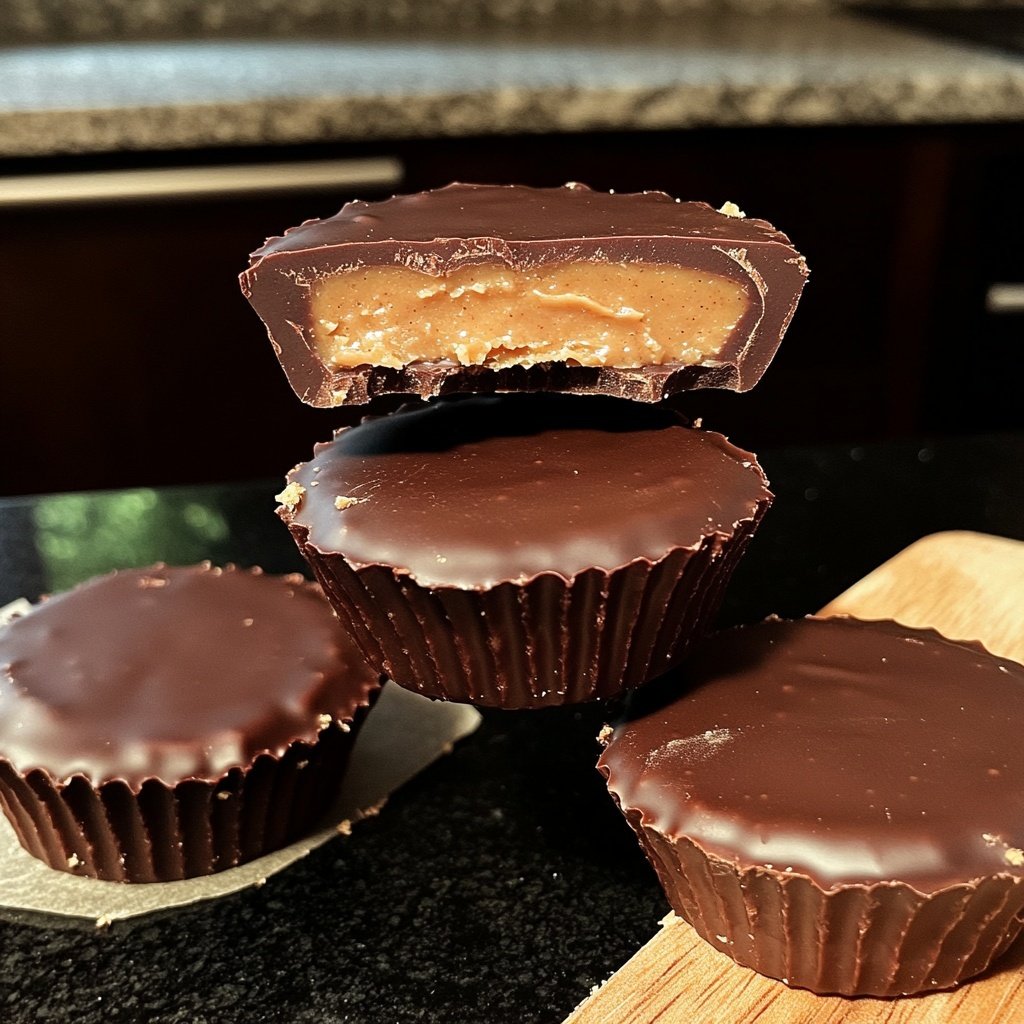
Last weekend, I decided to try making peanut butter cups from scratch, and it was a delightful experience. The best part was discovering how simple the process is. I used a mix of dark and milk chocolate, which created a perfect balance of rich flavors. The method worked beautifully, thanks to chilling the cups properly before slicing into them.
One tip I learned is to freeze the peanut butter filling slightly before adding the chocolate layer. This helps each layer hold its form, leading to a visually appealing and delicious end result. I can't wait to try different variations!
Why You'll Love This Recipe
- Decadent peanut butter flavor that’s irresistible
- Smooth chocolate coating that enhances the overall experience
- Perfect for sharing with friends during gatherings
Ingredient Insights
The star of homemade peanut butter cups is, of course, the peanut butter. Using a high-quality, creamy peanut butter enhances the flavor significantly; avoid natural peanut butters that separate, as they can make the filling too oily. For a more refined touch, opt for organic brands that have no added sugars or oils, making your treat healthier and more flavorful.
Incorporating both milk and dark chocolate chips creates a balanced flavor profile. The milk chocolate provides sweetness and creaminess, while the dark chocolate adds richness and depth. If you prefer a sweeter taste, increase the proportion of milk chocolate slightly, but be cautious not to overpower the peanut butter's natural flavor. This combination results in a harmonious coating that envelops the filling perfectly.
Techniques for Perfect Cups
When melting the chocolate, use a microwave-safe bowl and heat in small intervals to avoid burning. Stirring between intervals checks for doneness; the chocolate is ready when it's completely melted and glossy, with no lumps remaining. If it becomes too thick, you can add a small amount of coconut oil to improve its consistency before pouring it into the cups.
As for shaping the peanut butter filling, chilling it for about 15 minutes after mixing is key. This firms up the mixture, making it easier to scoop and shape into uniform dollops. Uniformity in size ensures that each cup contains the same amount of peanut butter, leading to a more consistent taste and texture across your treats.
Storage and Customization
These homemade peanut butter cups can be stored in an airtight container in the refrigerator for up to two weeks. For longer storage, consider freezing them! Just wrap each piece in plastic wrap and store them in a freezer-safe container. When you're ready to indulge, simply thaw them for about 10-15 minutes at room temperature before enjoying their full flavor.
Feel free to customize these cups to suit your palate. Adding crushed nuts or a sprinkle of sea salt on top before the chocolate sets introduces an additional layer of flavor and texture. For a hint of spice, consider incorporating a dash of cinnamon into the peanut butter filling. The beauty of this recipe lies in its versatility—experiment and find what works best for your taste buds!
Ingredients
Gather these simple ingredients to get started:
Peanut Butter Cups Ingredients
- 1 cup creamy peanut butter
- 1 cup milk chocolate chips
- 1/2 cup dark chocolate chips
- 1/4 cup powdered sugar
- 1/4 teaspoon salt
- 1 teaspoon vanilla extract
Instructions
Follow these easy steps to create your homemade peanut butter cups:
Prepare the Peanut Butter Filling
In a mixing bowl, combine the creamy peanut butter, powdered sugar, salt, and vanilla extract. Mix until smooth and thoroughly combined. Refrigerate the mixture for about 15 minutes to make it easier to shape.
Melt the Chocolate
In a microwave-safe bowl, melt the milk chocolate chips and dark chocolate chips together in 30-second intervals, stirring in between until smooth. Be careful not to overheat!
Assemble the Cups
Line a muffin tin with cupcake liners. Spoon a small amount of melted chocolate into each liner, covering the bottom. Add a dollop of the chilled peanut butter mixture on top, then cover with more melted chocolate. Tap the muffin tin gently on the counter to remove air bubbles.
Chill and Set
Refrigerate the assembled cups for at least 20 minutes, or until the chocolate is fully set. Once set, remove from the liners and enjoy!
Pro Tips
- For a twist, try adding a sprinkle of sea salt on top before chilling for a sweet and salty flavor combination.
Troubleshooting Tips
If your melted chocolate seizes or becomes grainy, it may have encountered moisture or been overheated. You can salvage it by adding a teaspoon of vegetable oil and gently reheating it until smooth again. Always check the microwave's power setting, as lower power levels help prevent overheating.
If the chocolate doesn't fully coat the peanut butter filling or seems too thin, consider tempering the chocolate beforehand. This process ensures a smooth texture and a shiny finish, providing a better bite once the cups have set. Additionally, chilling the assembled cups for a bit longer can help the chocolate solidify effectively.
Serving Suggestions
Serving these homemade peanut butter cups can be as simple or as creative as you wish! Plating them alongside fresh fruit, like strawberries or banana slices, offers a delightful contrast in flavors. For a more festive presentation, drizzle some melted chocolate on top or sprinkle crushed nuts right after pouring the chocolate layer.
These cups also make great gifts! Present them in a decorative box or jar, layered with parchment paper for a rustic touch. You could also personalize the experience by including a handwritten note with variations on the recipe, encouraging friends or family to make their own versions at home.
Questions About Recipes
→ Can I use natural peanut butter?
Yes, but make sure it's well-stirred and not overly oily, as it can affect the texture of the filling.
→ How should I store the peanut butter cups?
Store them in an airtight container in the refrigerator for up to two weeks.
→ Can I use dark chocolate only?
Absolutely! Feel free to substitute with any chocolate you prefer, but keep in mind the flavor balance.
→ What can I do if my chocolate hardens too quickly?
Keep the chocolate over low heat and stir constantly to maintain a smooth consistency while working.
Homemade Peanut Butter Cups Classic
What You'll Need
Peanut Butter Cups Ingredients
- 1 cup creamy peanut butter
- 1 cup milk chocolate chips
- 1/2 cup dark chocolate chips
- 1/4 cup powdered sugar
- 1/4 teaspoon salt
- 1 teaspoon vanilla extract
How-To Steps
In a mixing bowl, combine the creamy peanut butter, powdered sugar, salt, and vanilla extract. Mix until smooth and thoroughly combined. Refrigerate the mixture for about 15 minutes to make it easier to shape.
In a microwave-safe bowl, melt the milk chocolate chips and dark chocolate chips together in 30-second intervals, stirring in between until smooth. Be careful not to overheat!
Line a muffin tin with cupcake liners. Spoon a small amount of melted chocolate into each liner, covering the bottom. Add a dollop of the chilled peanut butter mixture on top, then cover with more melted chocolate. Tap the muffin tin gently on the counter to remove air bubbles.
Refrigerate the assembled cups for at least 20 minutes, or until the chocolate is fully set. Once set, remove from the liners and enjoy!
Extra Tips
- For a twist, try adding a sprinkle of sea salt on top before chilling for a sweet and salty flavor combination.
Nutritional Breakdown (Per Serving)
- Calories: 380 kcal
- Total Fat: 26g
- Saturated Fat: 15g
- Cholesterol: 195mg
- Sodium: 85mg
- Total Carbohydrates: 32g
- Dietary Fiber: 3g
- Sugars: 24g
- Protein: 6g